I've been so overwhelmed with life lately that I haven't put this up. Without further adieu...
I wanted a unique party idea (as usual) so I scoured Pinterest. I saw a party with neon animals and thought that looked cool so I went with it. My goal was to go as cheap as possible, and re-use whatever I could.
Here's my Pinterest idea board - you can see several ideas I wound up using, but adapting.
I made the invite first, using leftover invites I had from last year. I flocked the elephant too (what a pain in the butt!) The flip side had party details and a yellow stegosaurus silhouette.
Then I hit thrift stores for plastic animals I could paint. While out I also found plates & glasses that I glued together and painted to use as serving trays. (Another Pinterest idea I found.)
I picked out three colors and painted all the animals outside.
drying
Then because I'm detail oriented/bored in my unemployment, I decided I wanted to make them
more interesting. I got a silver paint pen I had & colored different things on the animals -
eyes, teeth, toenails, tails, etc.
Since plastic throwaway anything annoys me (Made in China, toxins, etc) I wanted to make favors the kids could use. Yes, I am aware I used plastic animals here, but most were thrifted! I saw a post on pinterest for soap crayons using only glycerin cubes ($10 at Michaels but I had a coupon), soap scents & gel food colors - microwave til soft, add color & fragrance, pour into ice cube molds ($1 each at IKEA). I had leftover soap scents from last year and of course I have gel food colors. I tested them in the tub and it comes off easily since it's suspended in soap. Easy peasy! Jory even helped me, as you can see.
I used zebra fabric to quickly sew up favor bags - I packaged up the soap crayons and had found a box of unused beanie babies in the garage and gave each guest one.
I saw a ruffled streamers tutorial and decided to do it. Boy, does it look so much cooler than regular streamers. And frankly, as tedious as it seems, it goes fast, all you do is feed it in the machine.
I saw a tutorial to make a cheap number that had coffee filters folded & glued for texture. I found an old piece of foam core & starting gluing coffee filters on. I got thru about 10 filters & said, this will take FOREVER and is so tedious. So I was thinking about what I had that could make a cool texture when painted. I saw giant bubble wrap & had my a-ha moment.
Besides the cake, this looked so cool! I used 2 colors to make an ombre effect.
I used this in his birthday photo shoot too, so it all ties in nicely. :)
Plus, I had the foam core & bubble wrap so the cost was 0.
I saw this super cute set of paper animal balloon add-ons you can buy to make animal balloons. So of course I saw that challenge & made my own. Used eyes I already had from last year's invites and construction paper so I only paid for the balloons. I made a frog, dino, shark, tiger, peacock and rooster. I think they came out adorable!
The birthday banner was made from construction paper & scalloped scissors I had.
I re-used the letters off last year's banner too. I cut out zebra paper to fit on my serving platters as well.
I admit this was very uptight, but I had picked up extra large paint chips at Home Depot when I bought my paints. I see paint chip ideas on pinterest all the time & think, what a joke. Well, I fell for it. I cut them into tiny diamonds & glued onto ribbon I had. It took maybe 2 hours in total and I was watching TV while I did it. I love how it turned out though! I also had some smaller animals that I wanted to make a garland out of. Pinterest had a animal garland idea and I adapted thinking fishing line would be cooler, so they hung in midair. Tying the line on each animal & and the main garland took some time, and I had it lined up in the kitchen so it wouldn't tangle.
Last year I drew owl feet on the sidewalk up to the door & people loved it. This year I made footprint silhouettes (dino, penguin & elephant) and used flour on them to make footprints. (cost = free)
This door sign was made out construction paper & some printing from my computer. (cost = free)
I got this tee on closeout for $3 at Michaels. I got fabric paint for $1 ea on closeout too and made a stencil for the elephant (my theme animal). I used a Sharpie to color in the 3. I've washed it & it looks exactly the same so it can be worn again if he wants.
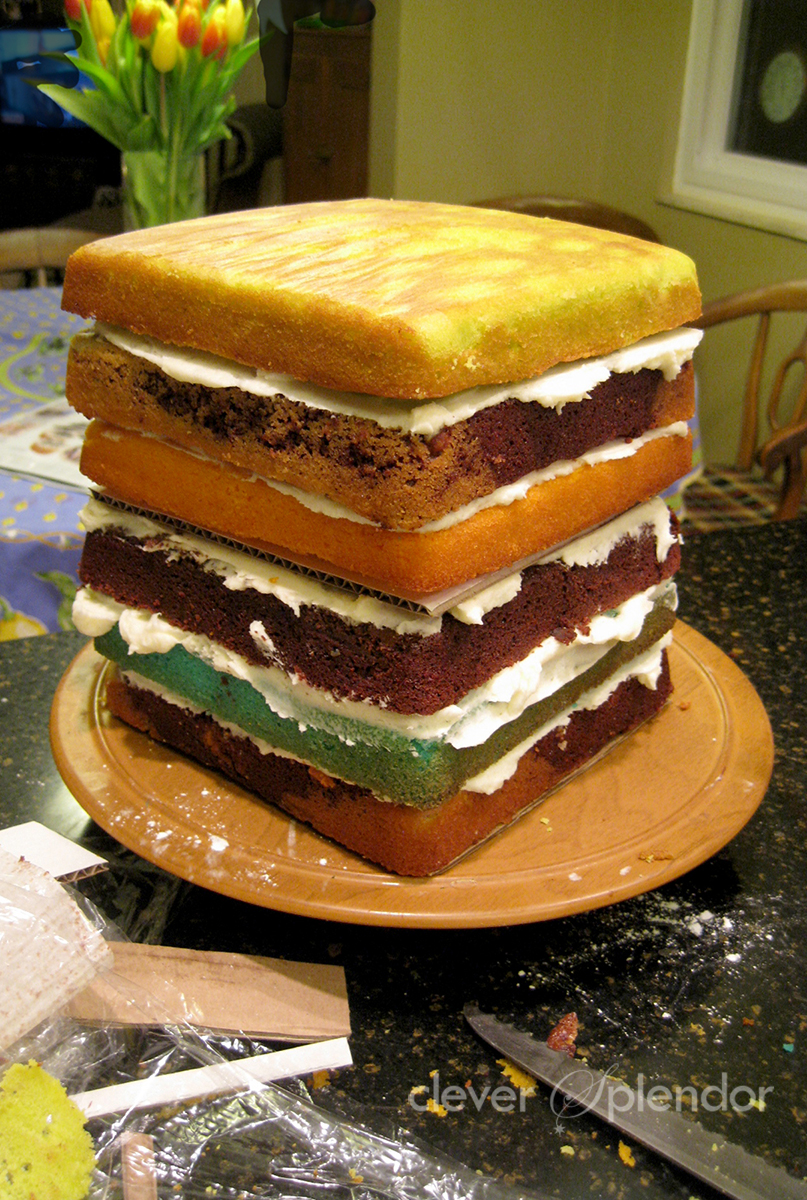
The cake batters, colored to match my paint chips.
Helping Nonna frost. I LOVE this pic.
All 6 layers stacked.
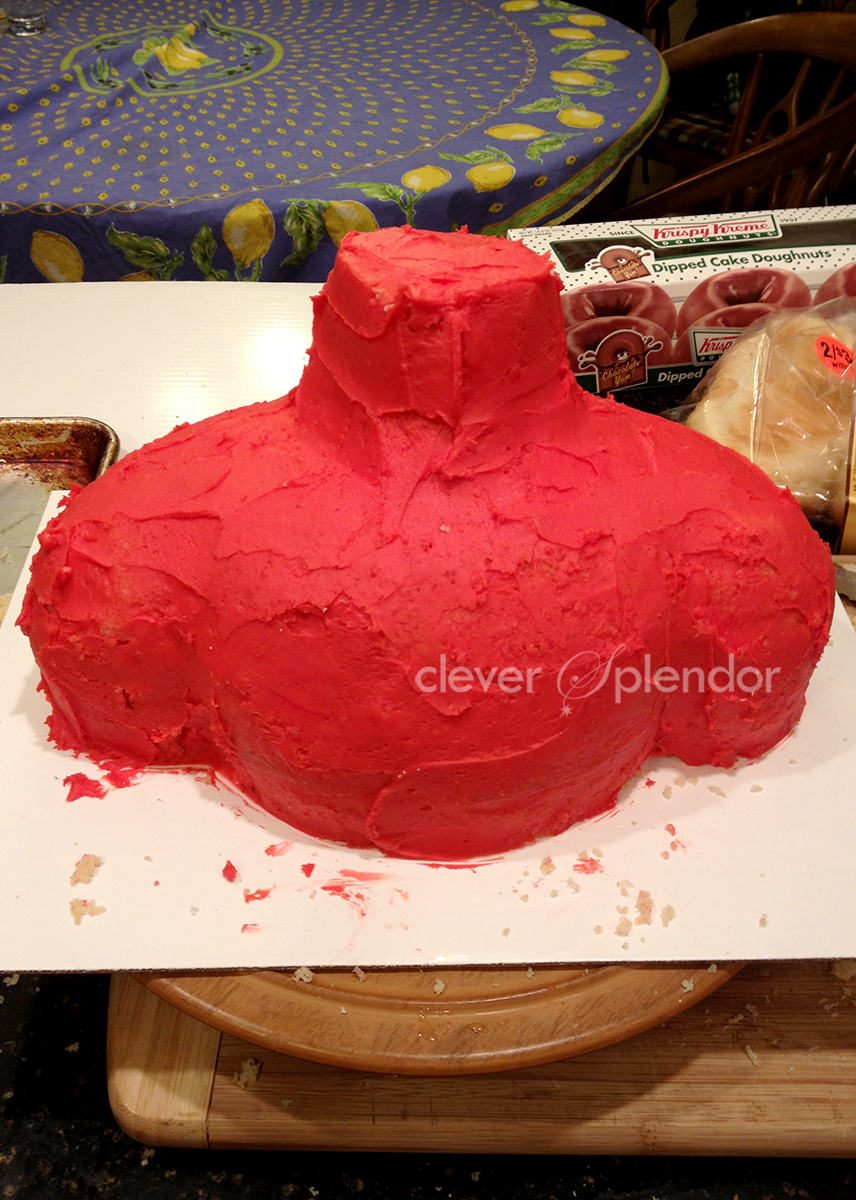
Since I knew I wanted a big wow factor when you cut into the cake, I wanted a simple cake with the theme elephant on top. This was my elephant cake topper inspiration here ($107!).
I used rice crispie treats and let it dry for a few days. I made homemade marshmallow fondant & used candy eyes I had in my box of cake goodies. I painted edible glitter on
the 3 as well.
Finished product! I used Wilton's edible paper decor to pull in my zebra theme. I put it on the night before & as you can see, it bubbled some which really annoyed me.
dining room decor
table
Family room mantel
kitchen table (felt was a remnant at JoAnn, maybe $3?)
animal shaped fruits
cereal treats in my colors (I already had he cereal for a craft project, I just OCDed on it
and separated out my party colors)
I made these honey wheat animal crackers 2 weeks in advance & froze them. Cuts down on things you have to do before the party. I made & froze the cake in layers a week before too. Looks awesome on my stand, I think!
People loved this cabbage dip holder. Do it, guests will be impressed!
cake time
Visually stunning inside
Fork first
A special day surrounded by friends & family
My thank you card, used up more invites I had, and added in a birthday pic. Best party ever!